Showing posts with label Easter. Show all posts

Monday, April 25, 2011

Personalized Easter Pails - Great for Summer too

Hi Everyone ! !
Once again I 'disappeared' but yet again I have an excuse, if your a personal friend of mine than you know the whole story thanks to facebook but I spent the past weekend driving back and forth to the hospital and spending long hours there. . . Short version my sister went into the E.R. Thursday morning for severe chest and stomach pains, after some test and ultrasounds they decided to remove her gallbladder. So she spent the entire weekend in the hospital, and we spent it traveling back and forth.

Needless to say the women in my life, there are only two but they keep my life interesting.

However I was able to fit in some time to make these personalized Easter pails for my little men and my two nephews and niece. I was actually very Happy with how well they came out and everyone loved them. I also color coordinated everything that went into the buckets . . . yellow bucket = yellow loot inside . . orange bucket= orange loot inside . . . you get the idea :)

These would also be really cute for a summer birthday party or to fill with goodies and give to the birthday kid.

Friday, April 15, 2011

Hanging with my Peeps

This probably won't last past this Easter because I've already had to glue two back on, but its just so dang cute that I couldn't resist testing out a wreath with the peeps.

Peek-a-Boo Bunnies

Peek -a-Boo Bunnies ! ! ! These turned out so cute and the boys thought they were so funny !

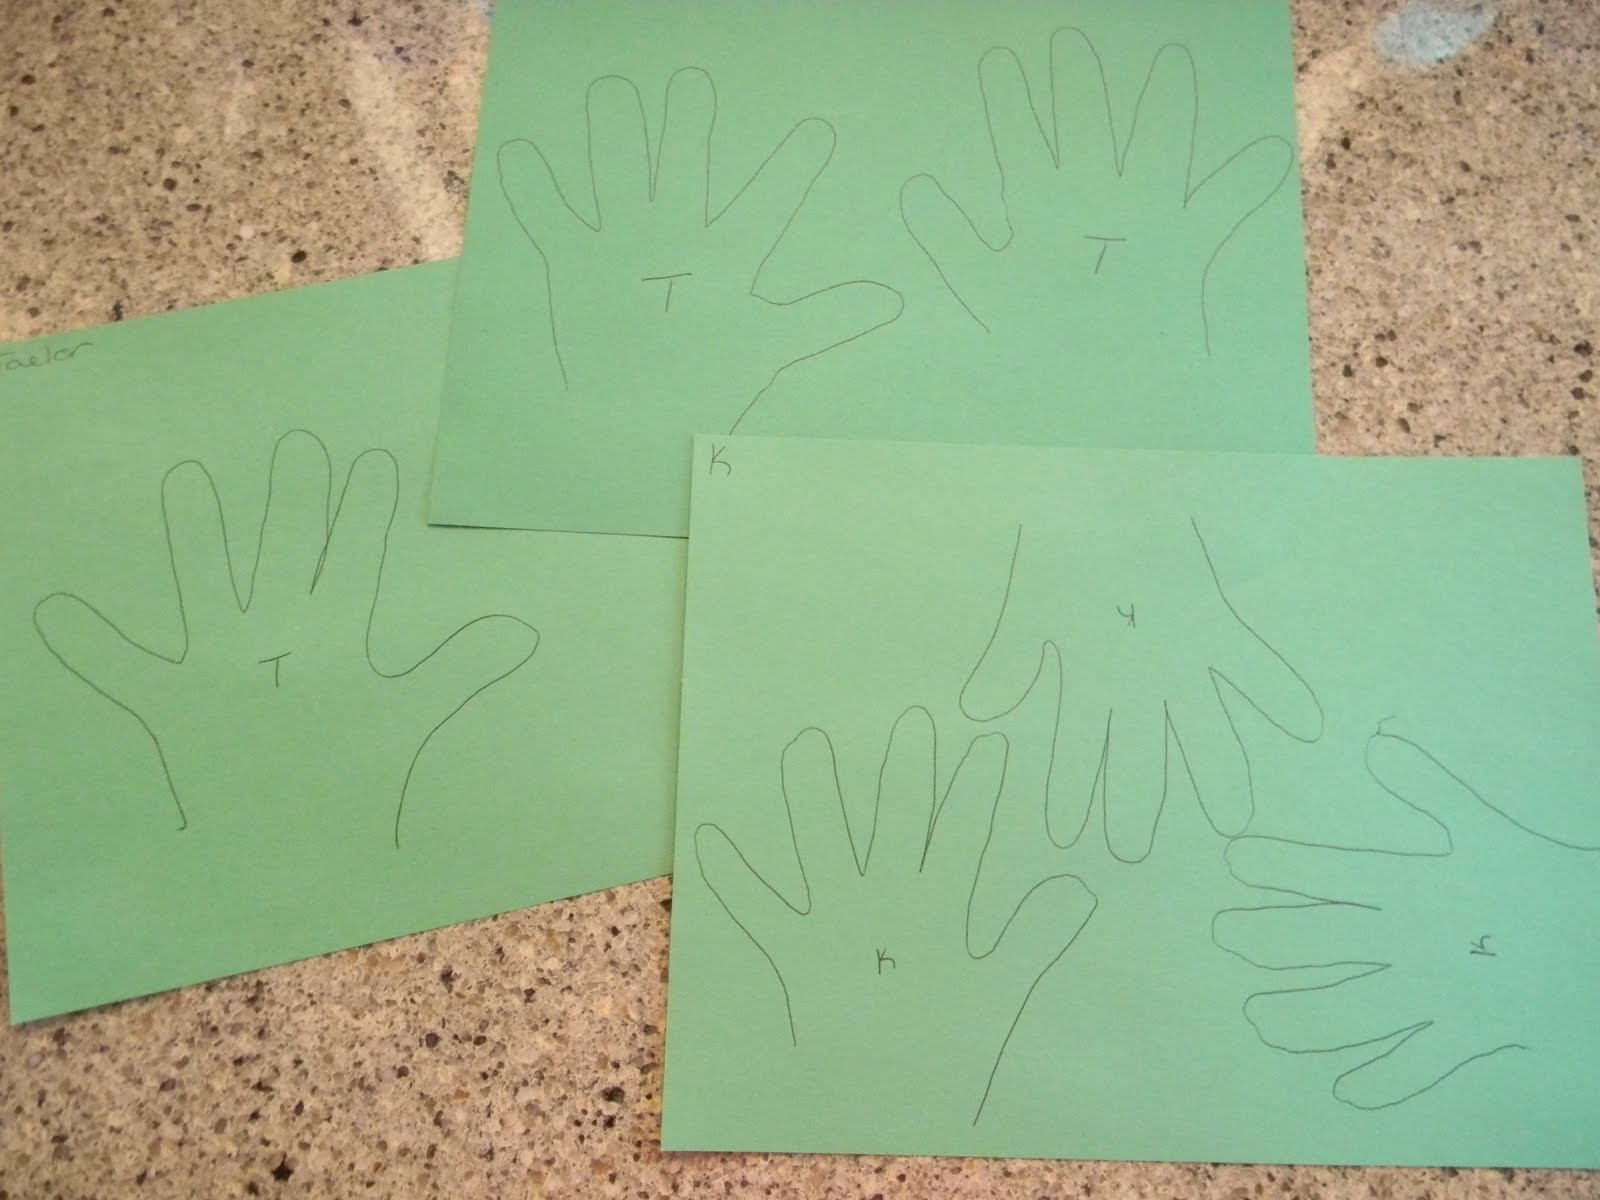
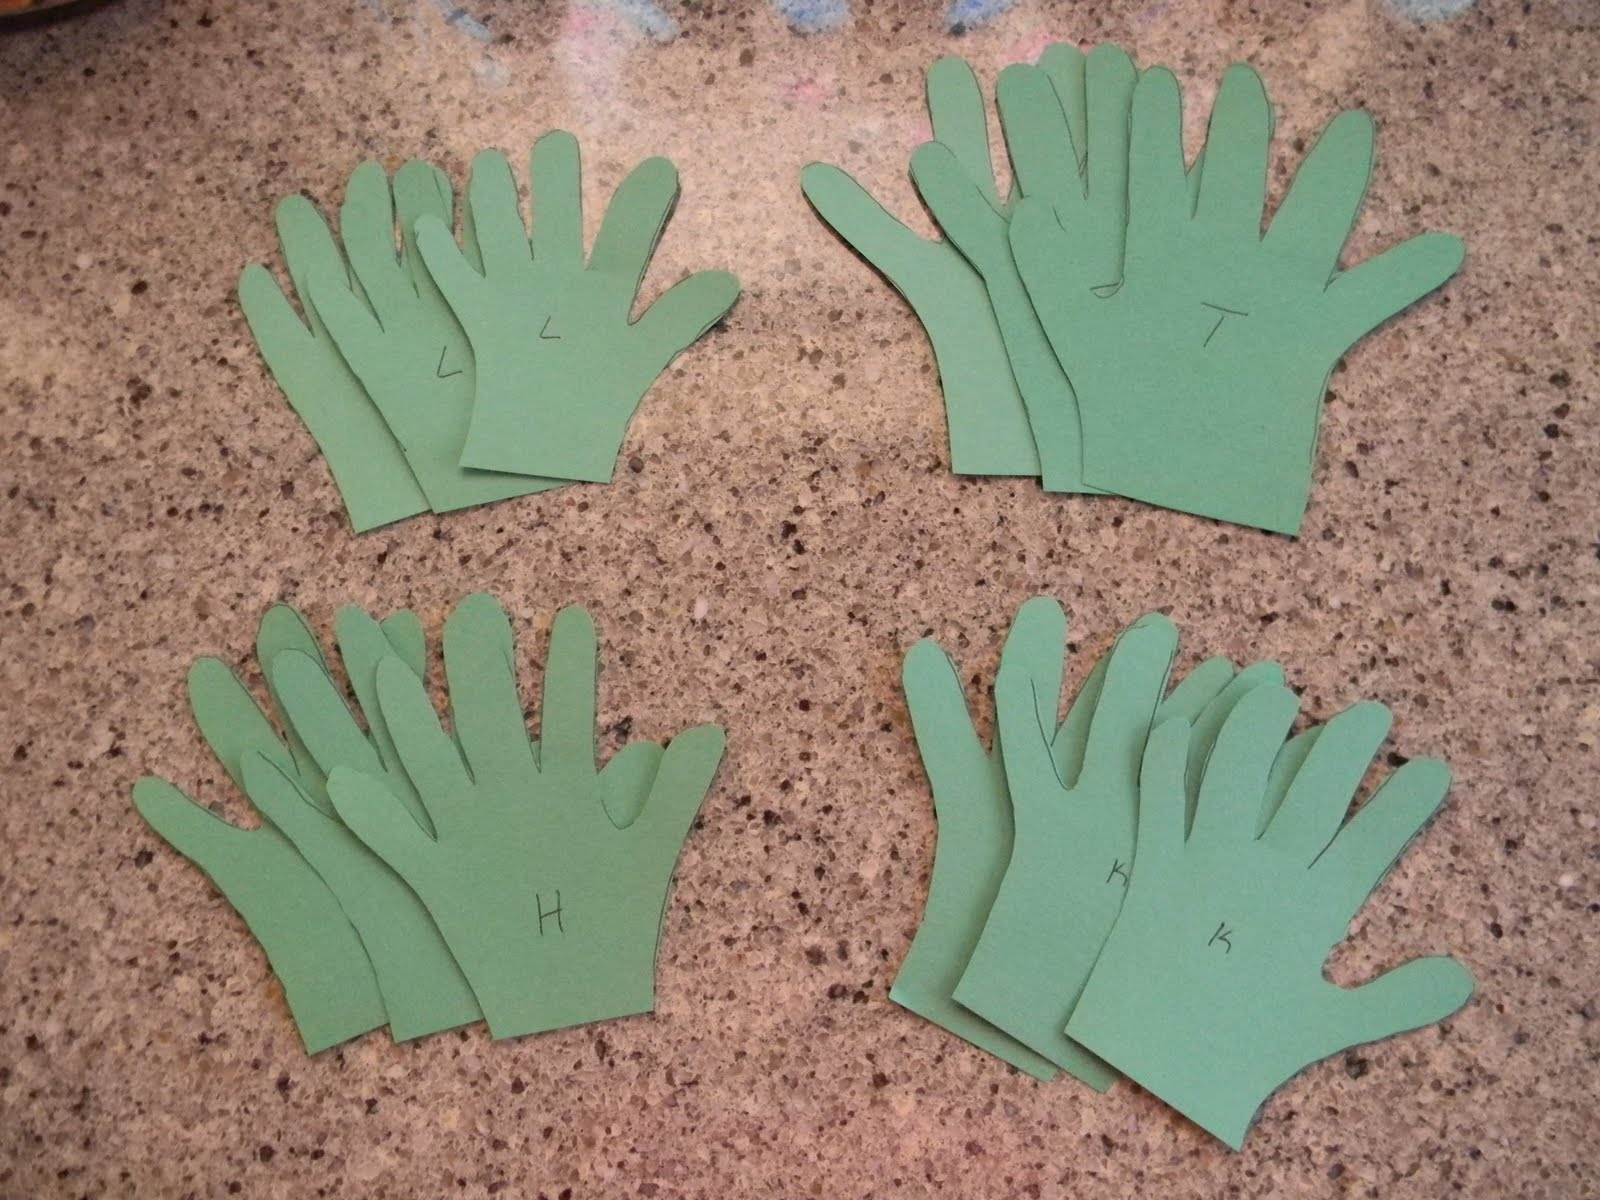
Here's what your need : Pink, White, and Green construction paper, a paper plate, a glue stick, a pen and although they are pictured we didn't end up using the googly eyes (they were too small and looked odd) so instead we used black construction paper (not pictured). I folded the white paper in fourths and cut out ears, than I did the same with the pi paper just cut them slightly smaller to fit in the white ears. Next I traced the little ones hands. (I put their initials on them because my niece and nephew were here so I didn't want to mix up the hands) Here are all 12 hands cut out, three are needed for each bunny. Next have them glue their three hands onto the bottom of the plate with the fingers pointing to the top of the plate. . . . . . Like below . . . Glue the pink construction paper onto the white and glue to the back of the paper plate. Cut out two black circles from your black construction paper and enjoy. Happy Crafting !

Tuesday, April 12, 2011

Cotton Bunny

Here's what you need for each bunny : cotton balls - glue - a paper plate - a pink pom pom - two eyes - four pipe cleaners - two precut ears cutsout of white and pink construction paper - Start off by having your little ones go crazy with
the glue on the paper plates. Next put on the cotton balls. I had to help the little one but you can see what we did next at the top of this picture - we glued on the eyes, glued on the four pipe cleaners and glued on the pink pom pom(nose) in the center of the pipe cleaners ... does that make sense ? If not you can see for yourself below :)

Also have them glue the pink construction paper onto the center of the white construction paper 'ear'

Glue your ears onto the back of the paper plate and
enjoy your new furry bunny. I hope your little ones enjoy making these as much as mine did.
Happy Crafting !

Saturday, April 9, 2011

Jelly Bean Wreath

So I Taelor was showing signs of getting better than went down hill fast. . . and to make matters worse I ended up with strep throat too . . yuck !!!. . hence the absence again but we're all better and have tons of fun crafts planned.

To be honest I'm not a fan of Jelly Beans but I love them because they're so colorful ! ! Perfect for a spring time wreath. Here's what I used: a flat wood wreath ring, two bags of jelly beans (even though three are pictured), and my ever handy dandy hot glue gun. I should have closed the blinds to take the picture but it was such a beautiful day out. . . any who getting back on track her . . I placed two jelly beans side to side one after the other all the way around the ring. Here's a close up so you can see what I meant by putting the jelly beans side to side.

I forgot to snap a picture of what I did next but you can see it in this picture, I went back and in the middle, on the top of the jelly beans I put side to side I put another line of jelly beans. Added a pretty yellow ribbon and finished ! ! Happy Crafting ! !

Tuesday, March 29, 2011

Easter Topiary

I love this time of year !

This Easter topiary took me all of 5-ish minutes to make.

Gotta love that !Here's what I started with: a bag of Easter grass that I got after Easter last year from 10 cents, a $1.00 foam block, two packs of Glitter Egg Picks for $1.00 each from Dollar Tree and finally my awesome find from Goodwill a cute metal basket I scored for 50 cents. The metal basket was a centerpiece from Edible arrangements . First off I hot glued the foam block in the metal basket. I oped not to take the plastic off the block. . . why ? ? . . because I don't like the 'dusty' stuff that falls off these foam blocks. Next I broke each pick in different spots to vary the height of each one. Than I stuck each pick in the foam block, again varying them in height. After adding the Easter grass. . . Here it is ! Lovin' it on my dining room table. Happy Crafting !
Related Posts Plugin for WordPress, Blogger...